

If you can fold paper and cut two slits, you can make a pop up card
even if you've never made a card before in your life!
Here’s all you’ll need:
Cutting Mat
Trimmer
Your favorite adhesive
Razor knife
Scissors
Ruler
Two or more coordinating one-sided papers - save your double-sided paper for another project

1. Cut two coordinating papers to measure 5”x 12”. Fold both in half to form your card. The piece that will be the outside of my card is on the left. The piece that will be the inside of my card is on the right.
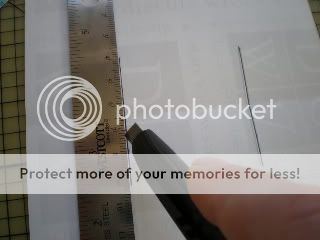
2. Take the piece of paper you’ve chosen for the inside of your card and lay it on your cutting mat, wrong side up. Lay your ruler along the fold. Measure 1-1/2’ in from each side and make a mark. Turn your ruler perpendicular to the fold and use your razor knife to cut a slit up 1” and down 1” from the fold at each of the marks you made.

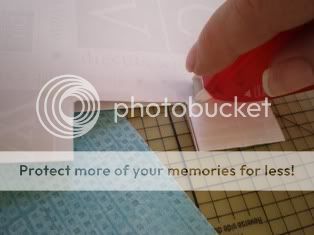
3. The pop up box has to fold to the inside so turn your paper to the "pretty side," slide your finger under one of the slits and lift this piece forward as far as it will go. Crease. Turn it around and do the same thing on the other side so that your box is folded forward when you close the card. When you're done, it will look like this.
 Pat yourself on the back - YOU’VE JUST DONE THE HARD PART!
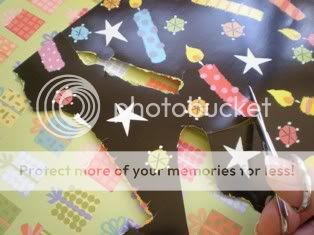
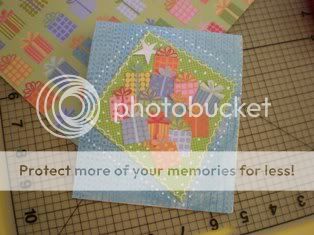
4. Now for the fun stuff. I cut shapes from my coordinating paper to glue onto my pop up box, but you could use flowers or whatever embellies you’d like.
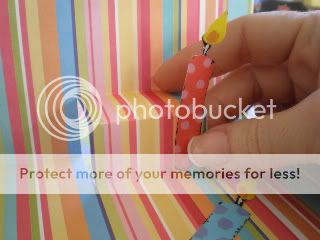
Glue ‘em on, stamp your sentiment and decorate the inside of your card any way you like.
5. When finished with the inside of your card, fold it closed and apply adhesive to all the corners around the pop up box. The picture above shows me applying adhesive to one side - don't forget to turn it over and apply adhesive to the other side as well.
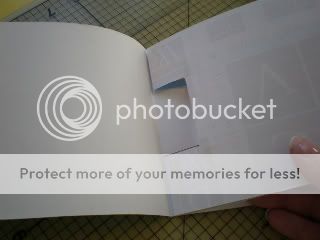
6. Open up your other 5x12 piece and position this piece along the fold – wrong side to wrong side - and press both closed along the fold. Then apply adhesive around all the other edges and seal firmly.
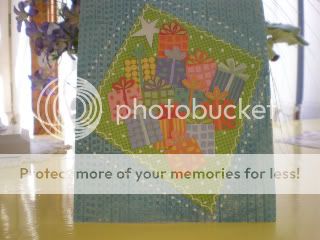
7. Decorate the front of your card to your liking (I used more cut outs from another coordinating paper), and you’re done!

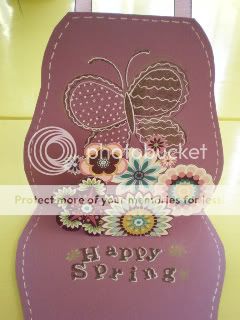
Pop up cards can be made for almost any occasion. Here’s one I made in the shape of a purse – a handy trick if you don’t want to have to decorate the outside of your card. On the inside, I jazzed it up with stamps, cut outs and my white Signo pen.
Once you're done, slip it into an Easy Peasy Envelope (see my tutorial 3/15/09) and you're ready to send it off to some very lucky person
I hope you try a pop up card - once you've made your first one, you'll make more! Pop up cards are sort of like pistachios in that respect, but pop up cards are a LOT more fun. Email me a picture of your card - I'm already putting together an array of pics to go into the Gallery after the Brunch for Boobies is over. I'd be thrilled to include yours!
So get to work - and please post here if any questions. . . um . . . pop up!


Thank you for the card design - greatly appreciated.
ReplyDeletewily
www.ww2fighters.blogspot.com